
How to Design Stunning Social Media Graphics With Photoshop By

If you run a business that promotes messages on social media, it's essential to create great graphic content to accompany your posts. After all, did you know that 87% of Facebook fan engagement happens with posts that include photos and that Tweets with images receive 150% more retweetsthan those without them? For these reasons, it should come as no surprise that 74% of social media marketers use visual assets in their social media marketing.
If you want to harness the power of graphics to boost your brand, you can use a powerful tool like Photoshop to help you with social media design. Photoshop allows you to customize images so that your brand can appear professional, creative, and unique. Here's a beginner's guide to get you started.
What Is Photoshop?
Adobe's Photoshop is a popular image creation software. The program can be used for a wide range of purposes, including photo editing, graphic design, video game design and more.
Photoshop is undoubtedly a powerful program. However, for newbies, it can also be overwhelming, since there are so many terms and tools to learn about if you're going to take full advantage of its capabilities. If you're just getting started with Photoshop, here are some key terms you should understand:
Layers
In Photoshop, images can be built with layers, which Adobe describes as being like "transparent sheets of glass." You can create an image on a clear layer and then place it on top of another. You can see through the transparent part of each layer to the layers that are below it.
Opacity
Transparent layers in Photoshop are see-through. In contrast, opaque layers are ones that block light. Opacity is the extent to which something blocks light (something with opacity doesn't necessarily block all light). You can alter the opacity of objects like layers and filters in order to determine how much of an underlying image can be seen.
Filters
A Photoshop filter is an automated way to change the appearance of an image. Filters include preset effects that determine the level of noise, brightness, contrast, temperature, color balance, and more.
Layer Styles
Layer styles are ways to automatically add effects to a layer in a design. You can also copy a given layer's style to save time in applying it to the next.
Resizing/Scaling
When you resize something in Photoshop, you change its dimensions. You can resize windows, canvases, and images. When you scale an image in Photoshop, you change its proportions, while maintaining their aspect ratio.
Transform
When you transform something in Photoshop, you can rotate it, skew it, enlarge it, shrink it, scale it or change its perspective. You can transform layers, shapes, and selections.
How Do You Purchase Photoshop?
There are many versions of Photoshop out there today, but the most recent one is called Adobe Photoshop Creative Cloud (CC). Adobe offers monthly plans that let you pay to use the program each month. You can also pay to include access to other Creative Cloud programs when you buy a Photoshop plan.
How to Create Stellar Social Media Graphics With Photoshop
If you want to use the power of Photoshop to create outstanding social media graphics, the following step-by-step Photoshop tutorial will help.
1. Open a New File
Start working on your social media graphic by creating a new Photoshop document. To do this, open the program, then select "File" and "New."

Resize the File for a Specific Social Media Platform
Every social media platform requires a certain size in order for images to look their best in posts. To make sure you're designing a graphic of the right dimensions, you should resize the photo with the specific platform in mind. To resize the photo, choose "Image," then "Image Size." You can also set these dimensions from the onset, when you complete step 1. Enter the width and height you need, as well as the resolution. Then click "OK."
Here are the current optimal dimensions for posts on each social media platform:
- Facebook: 1200 x 628 (shared image)
- Twitter: 1,024 x 512
- Pinterest: 735 x 1,102
- Instagram: 1,080 x 1,080
You should see a new document appear on your screen. Make sure you're working in RGB mode when you are creating a graphic for the web. To be sure that you are, click on "Image", "Mode," and then select "RGB Color."
2. Import a Background Image Into the Photoshop Document
Once you've sized the document appropriately, select the photo you want to work with as your background. To do this, select "File" on the toolbar, and then click on "Place." You can decide whether you want the background file to be linked ("Place Linked" option) or embedded ("Place Embedded" option). When you embed an image in the current file, it will add to the file's total weight; on the contrary, a linked image will live outside of the current file and you will have to keep both files linked and present in order to make changes in the future. I almost always go with "Place Embedded" because it simplifies file upkeep.
Navigate to the image that you want to use, click on it, and choose "Place." You should now see the photo you want to use in your open Photoshop document. Once you've chosen your background photo, consider rotating and scaling the image to add visual interest.
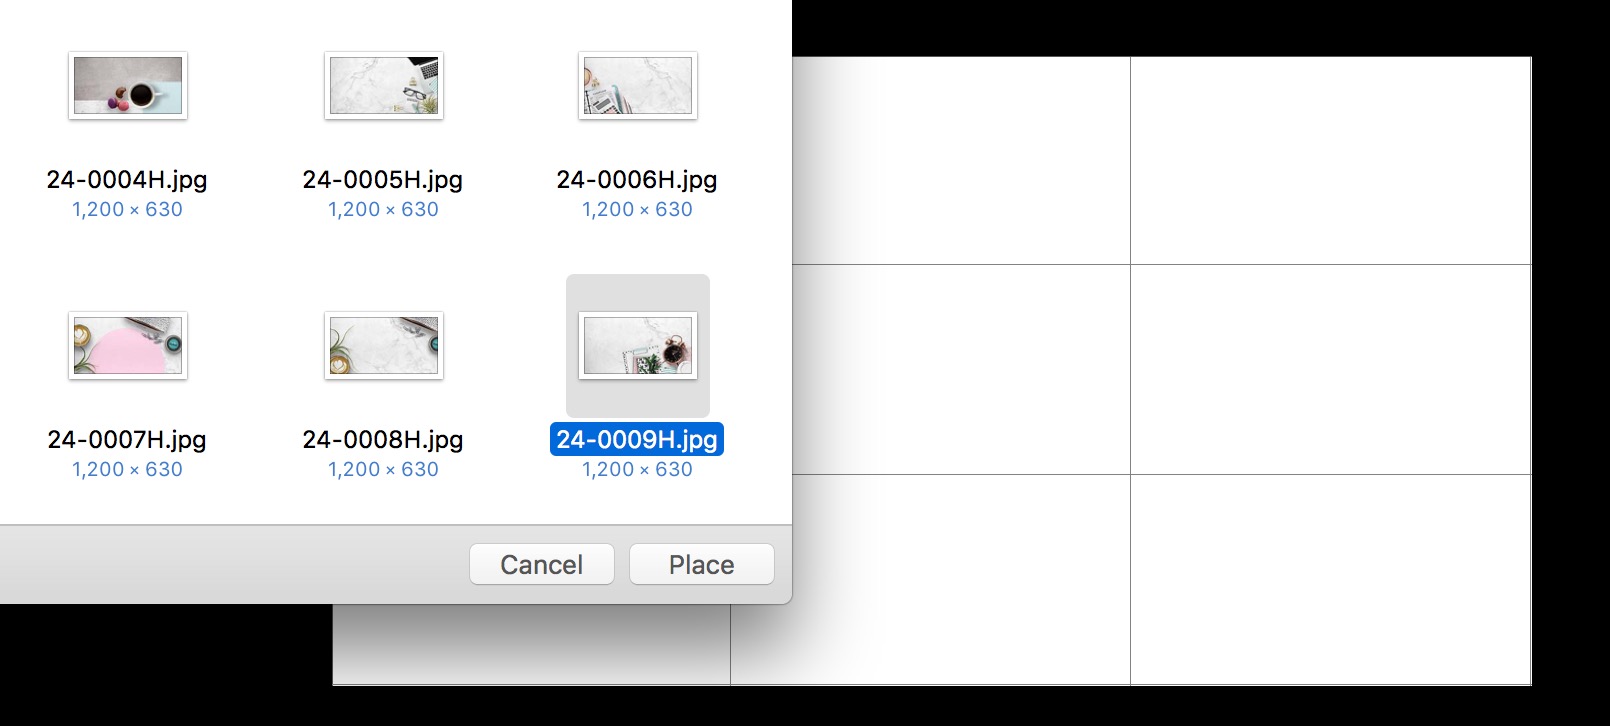
If you don't take photos yourself, you may consider purchasing a bundle of stock photos and uploading one of those images. One standout option for a stock catalog is the Feminine & Neutral Stock Bundle by Garlic Friday Design. In this example, I'm using file 24-0009H.jpg in that pack.

If you're new to Photoshop and want to save time and energy so that you can focus on more important parts of your business, one good alternative is to use a predesigned social media template that will provide you with ready-made layout, background, and texts that you can add and modify in Photoshop.
One of our favorite examples is the Juniper Social Media Pack from 46&2 Collection. This multipurpose social media pack includes customizable templates for websites, blogs, Facebook, Instagram, Pinterest and more, and you can use it with both Photoshop and InDesign. With the Juniper pack, you get access to square post templates, rectangular shared link templates, vertical post templates and 16 different design variations you can use to customize your brand.

Just like the Juniper pack, you'll find many other great ready-to-use kits that will make designing social media graphics in Photoshop a breeze:

3. Add a Text Layer
On top of your image background, you may want to add a layer of text. This will come in handy whether you choose to use your own image or you want to customize a template that you purchased.
To do this, select the horizontal type tool, which looks like a "T" on the left-hand toolbar. Then, go to the tool options bar, and type in the font you want to use. Hit "Return." Click on the design to which you want to add text, and type in the text. Then, to choose a font for the text, select a typeface from the font menu on the tool options bar. You can also alter the color by selecting a color swatch from the swatches panel on the right side of the screen.

You may want to change the line spacing, or leading, in your document. To do so, select the text you want to change, and then go to the character panel and set the leading value.
If you want to change the position of the text within the document, simply click and drag it to where you want it to be.
4. Alter Your Text for Layout and Content
There are many ways that you can alter your text in Photoshop to fit your desired layout or content. Here are three favorites:
- Add a colored shape layerbetween the text and background. To add a shape layer, choose "Layer," then "New," then "Layer." Name the layer, then click "OK." Choose the rectangular marquee tool on the left toolbar, and then click and drag to create a shape. Release the mouse to have the layer appear. To give the shape a color, choose a color swatch, then select "Edit," then "Fill." Choose foreground color, and click "OK." This layer can be set at 100% opacity -- or less for a more subtle effect.
- Add text shadow by clicking on the text, clicking the "Layer Style" (fx) button at the bottom of the layers panel, and choose "Drop Shadow." Adjust the settings, then choose "OK."
- Be creative with the white spacein the background. If it has blank areas between objects, you can use this as the space to place the overlay text.

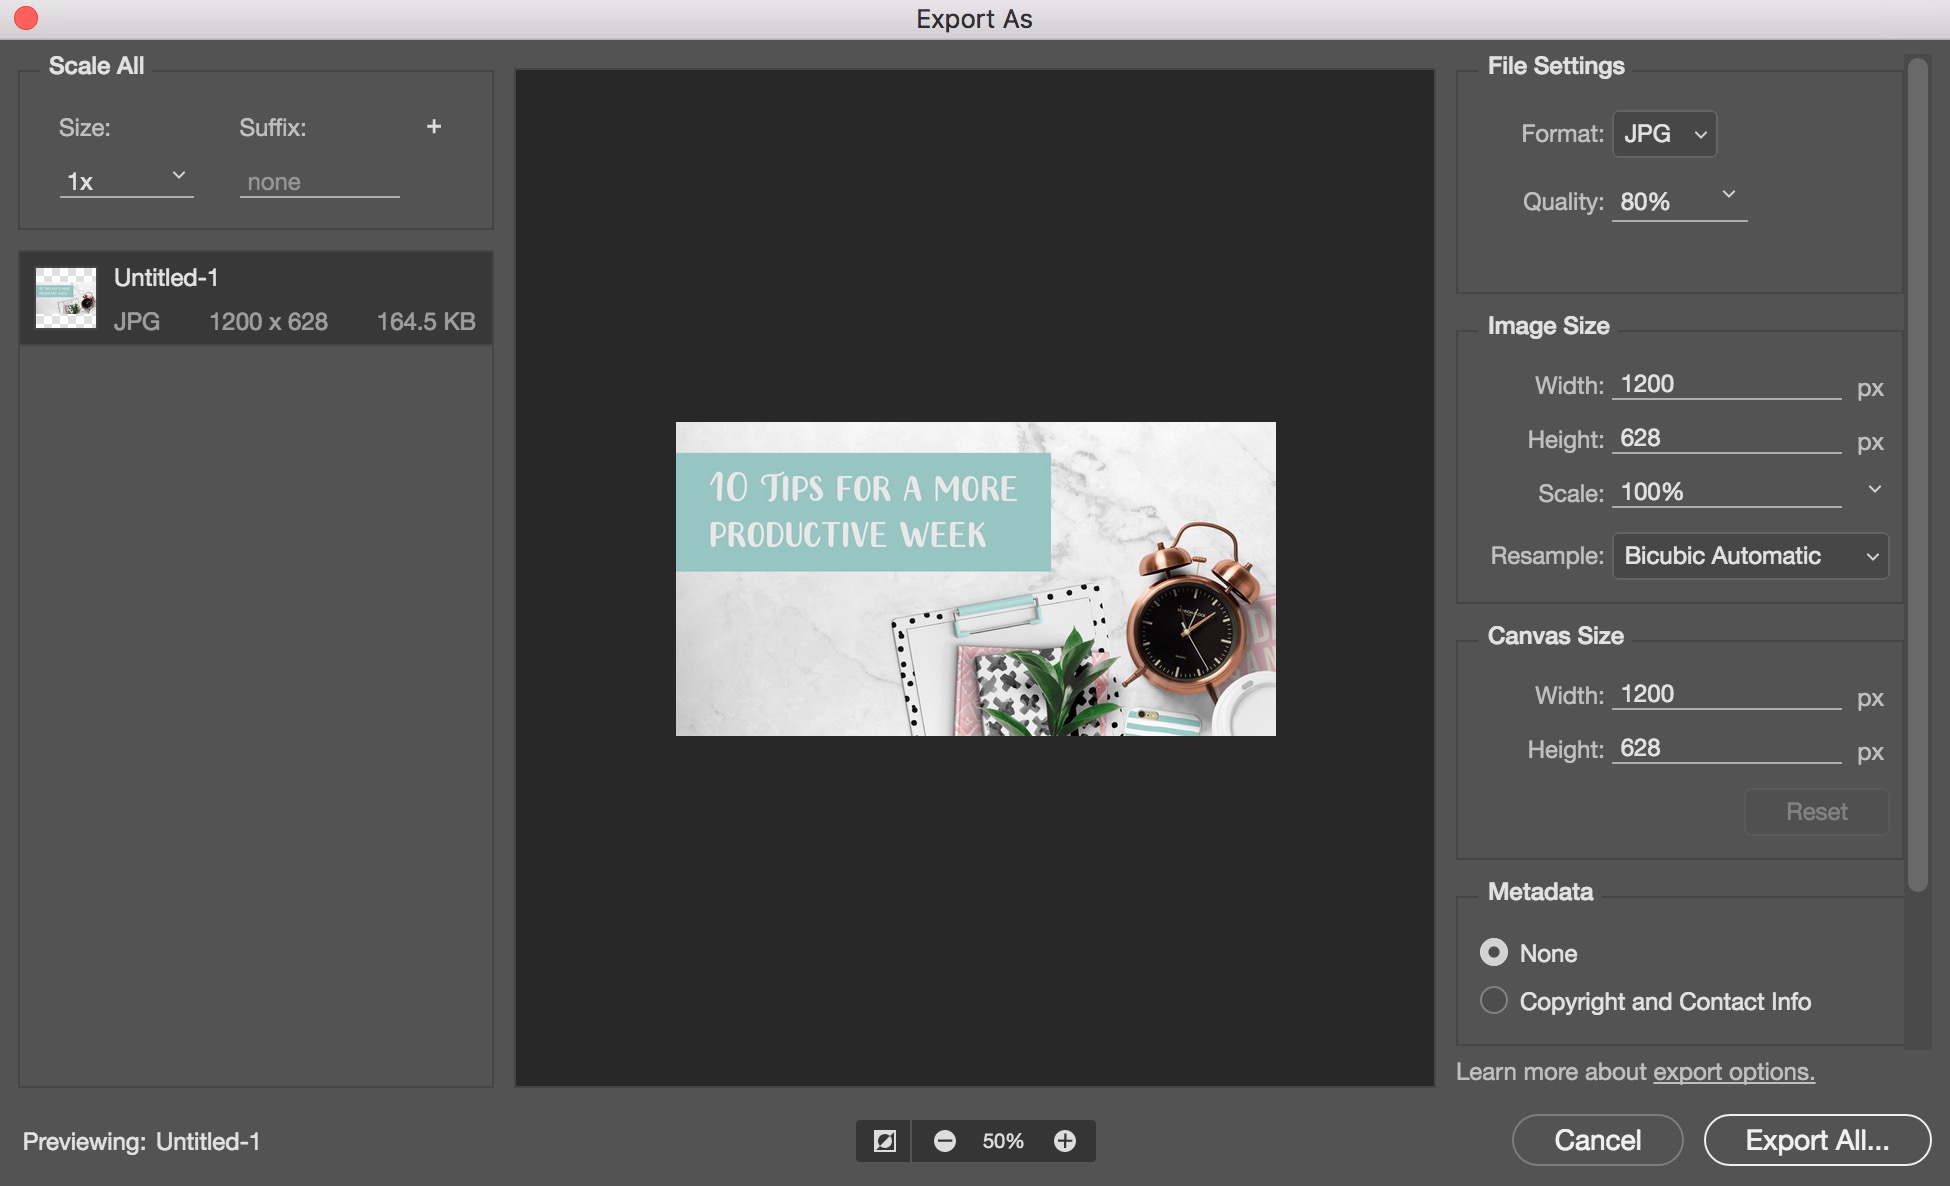
5. Save and Export Your Project
Once you've created your graphic, you're going to want to save it. Click on "File," then select "Export As." Choose to save the file in a Photoshop format with layers checked so you can reopen and edit it, if needed. Then, click "Save" and "OK." Now, go back to "Save As," and save the design as a JPG. By saving your design as a JPG, you retain all the color information in the file, but it is compressed so that you can upload it to your social media profiles easily.
Pro-Tip: Once you've created several social media graphics in Photoshop, it's possible to export multiple assets at once. Photoshop CC's new featuresallow you to create a big artboard with several social media graphics at once -- and export them in different sizes with specific file names at the same time. To do this, select "File," then "Export," then "Quick Export As," and choose your preferred file format and preferred destination. Photoshop will export the image you've specified, as well as all artboards in the document.


0 Comments